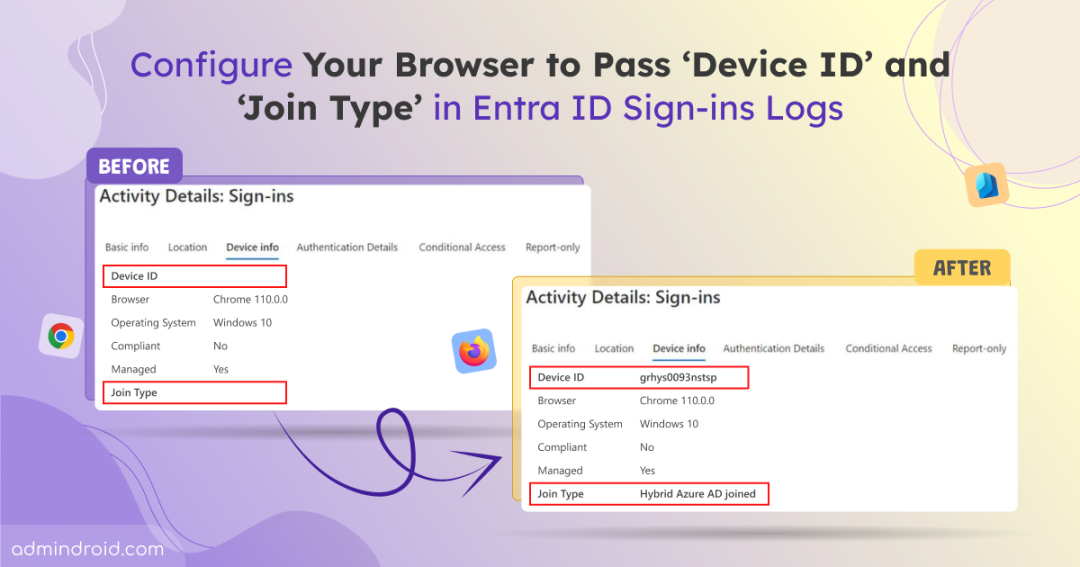
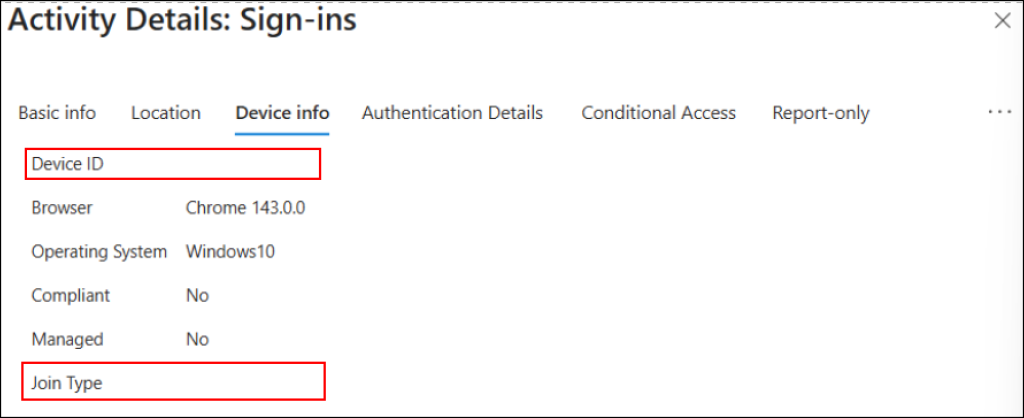
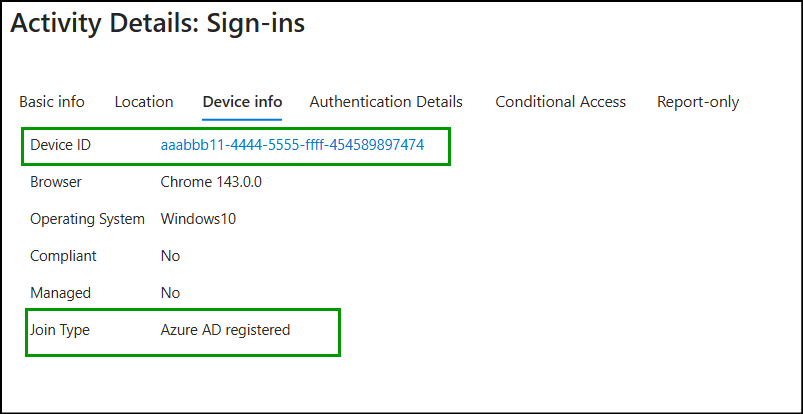
When users sign in to Microsoft 365 web apps using Google Chrome, sometimes you can notice that the ‘Device ID’ and ‘Join Type’ fields are blank in Entra ID sign-in logs. As a result, the device is treated as Unknown, and even Conditional Access policies may not be enforced as expected.
This happens because some browsers do not natively integrate with Windows account services or pass device identity signals to Entra ID during authentication.
When this occurs, Entra ID lacks the device context that is required for validation. This prevents device-based Conditional Access policies from being evaluated and allows sign-ins from unsupported or unidentified device platforms. To close this security gap, this blog walks you through how to configure browsers for Integrated Windows and macOS Authentication.
‘Device ID’ and ‘Join Type’ Support Across Web Browsers in Entra ID
Before configuring browser-based settings, it’s important to understand that each browser (such as Chrome, Firefox, and Edge) handles device identity differently. Below is a breakdown of browser types along with the required configuration steps to ensure Device ID and Join Type are captured in Entra sign-in logs.
- Deploy browser extension using registry in Google Chrome
- Pass device context in Microsoft Edge for Entra ID
- Set up Windows SSO for device identity in Mozilla Firefox
- Device-based Conditional Access support in Safari
1. Deploy Browser Extension Using Registry in Google Chrome
The following sections outline the two supported methods to achieve this.
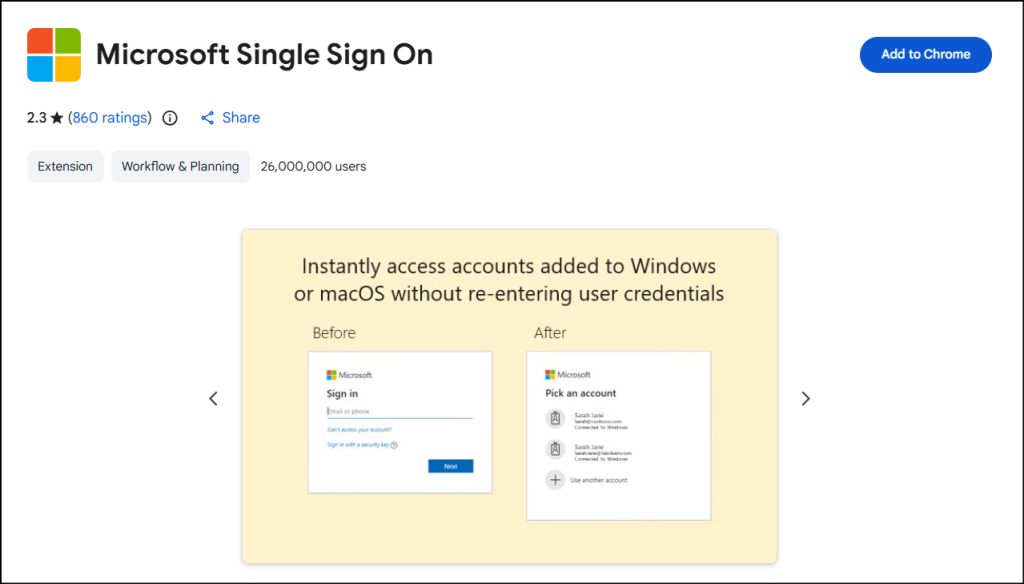
1.1 Add Microsoft Single Sign on extension in Chrome
The Microsoft Single Sign-On (SSO) extension for Google Chrome communicates with the Microsoft SSOBroker, providing a seamless SSO experience and enabling device-based Conditional Access policies. This method supports all Chrome versions on both Windows and macOS devices.
To add the Microsoft Single Sign-On extension for Chrome, follow the steps below:
- Open the Microsoft Single Sign-On extension in the Chrome Web Store.
- Click Add to Chrome.
- When prompted, select Add extension to confirm.
- Once installed, ensure the extension is enabled by checking under Chrome Menu → Extensions → Manage Extensions.
- Once done, you’ll be prompted to login into Microsoft 365, and this extension will retain the login credentials.
1.2 Configure CloudAPAuthEnabled Policy Using Microsoft Intune
In addition to Microsoft SSO, there’s another method which requires the configuration of CloudAPAuthEnabled policy to populate the Device ID and Join Type fields in Entra ID sign-in logs.
In Google Chrome versions later than 111, Windows authentication is not native and requires CloudAPAuthEnabled policy can be enabled to ensure that that the Device ID and Join Type fields are correctly passed to Entra ID. This functionality is natively supported and eliminates the need for extensions. This is configured using the setting “Configure automatic user sign-in for accounts backed by a Microsoft® cloud identity provider”. It allows Chrome to leverage Windows CloudAP authentication and share device identity during sign-in.
⚠️ Important: This feature is supported only on Windows devices. It does not support MacOS devices.
Step 1: Download Chrome Browser and Windows
First, you must need to download the Chrome Browser and Windows to get the required ADMX and ADML files for further configuration.
- Ensure that Google Chrome version 111 or later is installed on the device.
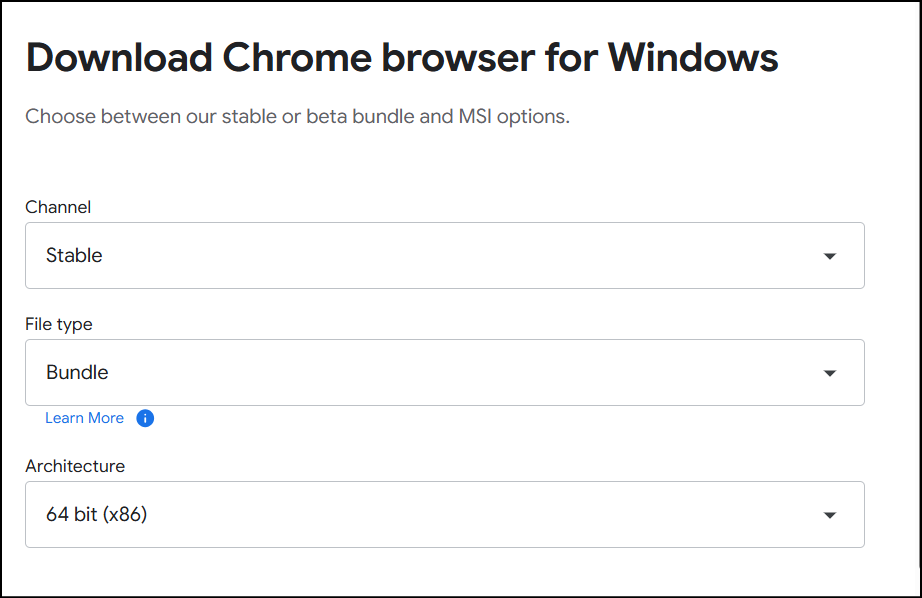
- Download Google Chrome Browser for Enterprise. Ensure the Channel is set to Stable and the File type is selected as Bundle.
- Extract the downloaded ZIP file to access the Chrome ADMX and ADML files.
- Also, install Windows 10 or Windows 11 by running the .msi file for your Windows version.
Step 2: Identify and Separate the Required ADMX/ADML Files
Now, isolate the required ADMX and ADML files. This ensures all necessary files are in one place and makes them easier to select and use in the following steps. To do this, you can follow the steps below:
- Navigate to Downloads → GoogleChromeEnterpriseBundle64 → Configuration → ADMX to locate the Chrome policy templates.
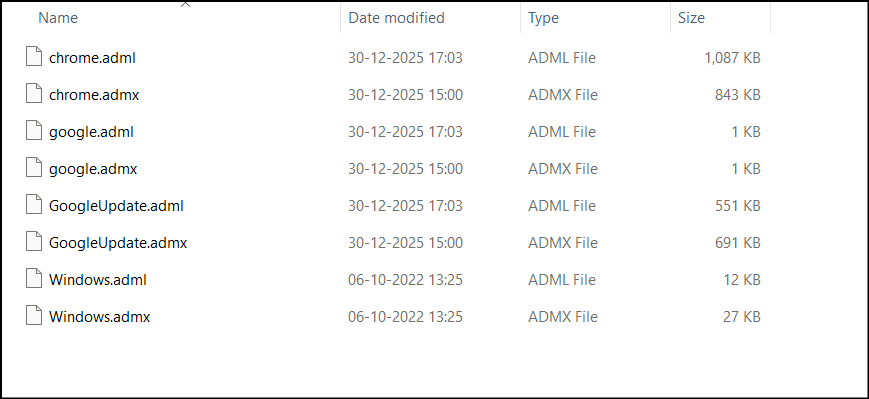
- Copy chrome.admx, google.admx, and GoogleUpdate.admx and then paste them into a separate folder.
- Open the required language folder (for example, en-US or en-GB for English) to locate the ADML files.
- Copy chrome.adml, google.adml, and GoogleUpdate.adml, and paste them into the same folder where the ADMX files are stored.
- Navigate to C:\Program Files (x86)\Microsoft Group Policy\ to locate the Windows policy templates.
- Open the folder that matches your Windows version (for example, Windows 10 22H2 or Windows 11 22H2).
- Click PolicyDefinitions, copy Windows.admx, then open the en-US folder and copy Windows.adml.
- Paste the Windows ADMX and ADML files into the same folder as the Chrome policy templates.
Step 3: Import ADMX Files into Microsoft Intune
Once the files have been separated, you can follow the steps below to import them into the Intune admin center.
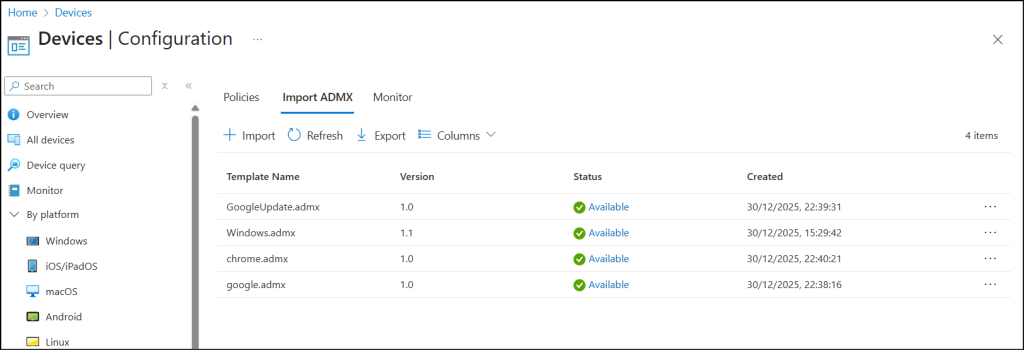
- Sign in to the Microsoft Intune admin center and navigate to Devices → Manage devices → Configuration → Import ADMX.
- Click + Import and upload the ADMX files in the following order. If the order is changed, the upload will fail.
- First, import the Windows ADMX file. In the ADMX file field, select and upload Windows.admx. Then select the corresponding Windows.adml file and click Next, followed by Create.
- Wait 10–15 seconds for the upload to complete.
- Once completed, upload google.admx and google.adml, then click Next and Create.
- Wait 10–15 seconds for the upload to complete.
- Next, upload GoogleUpdate.admx and GoogleUpdate.adml, then click Next and Create.
- Wait 10–15 seconds for the upload to complete.
- Finally, upload chrome.admx and chrome.adml, then click Next and Create.
- Wait 10–15 seconds for the upload to complete.
Step 4: Create an Intune Device Configuration Policy
Now that you’ve imported the required ADMX files, you can create a device configuration policy to allow automatic sign-in for accounts backed by a Microsoft® cloud identity provider. This enables Chrome to leverage Windows CloudAP authentication and share device identity during sign-in.
- In the Intune admin center, navigate to Devices → Configuration, then click + Create and select + New policy.
- Set the Platform to Windows 10 and later and choose Templates as the Policy type.
- Select Imported Administrative Templates (Preview) as the template, then click Create.
- Provide a descriptive name for the policy and an optional description, then click Next.
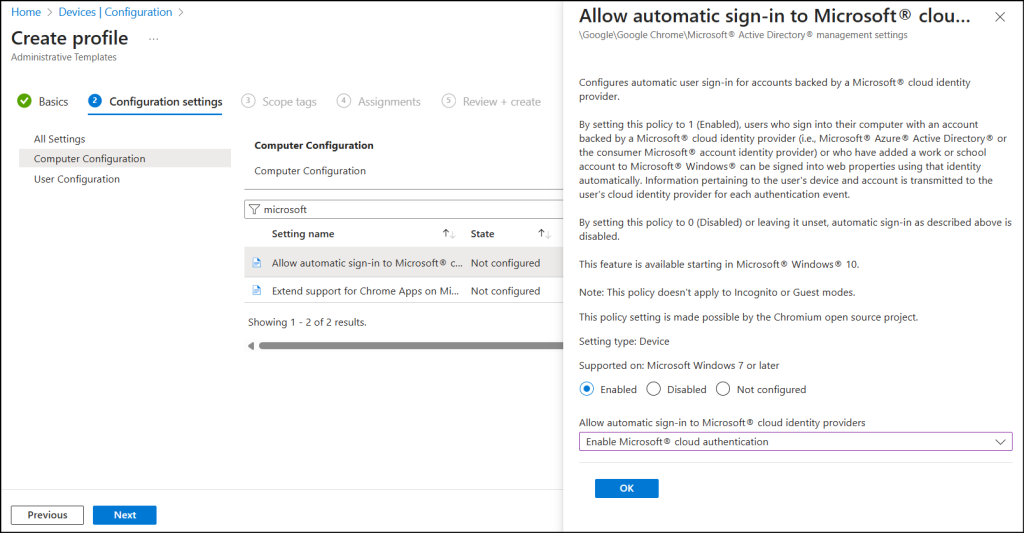
- Under Configuration settings, expand Computer Configuration and select Allow automatic sign-in to Microsoft cloud identity providers.
- Set the policy to Enabled, select Enable Microsoft cloud authentication, then click OK and Next.
- Optionally, assign scope tags, then click Next.
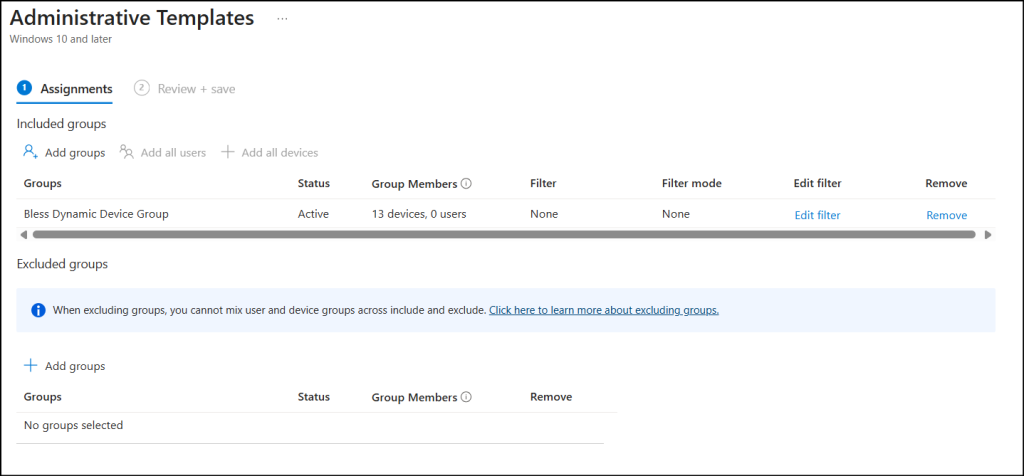
- Under Assignments, select the required users, groups, or devices. You can also create a security group for all devices and assign the policy to that group. Click Next.
- Review the configuration settings and click Create to deploy the policy.
- Once configured, enter chrome://restart in Chrome browser to restart and also restart the device.
Step 5: Verify CloudAPAuthEnabled Is Enabled
Once the policy has been applied, verify that it has been enforced successfully.
- Open Google Chrome and navigate to chrome://policy to confirm that CloudAPAuthEnabled is set to true.
- Perform an interactive sign-in and verify that Device ID and Join Type appear in Entra ID sign-in logs.
2. Pass Device Context in Microsoft Edge for Entra ID
For Microsoft Edge, starting with Edge version 85 and later, the browser relies on the signed-in Edge profile to access the Windows authentication stack and retrieve device context such as Device ID and Join Type.
If the user is not signed in to Edge, the browser behaves similarly to Google Chrome without the Microsoft Single Sign-On extension (i.e.) device context is not shared during authentication.
To enable device identity in Microsoft Edge, follow these steps:
- Ensure Microsoft Edge version 85 or later is installed on the device.
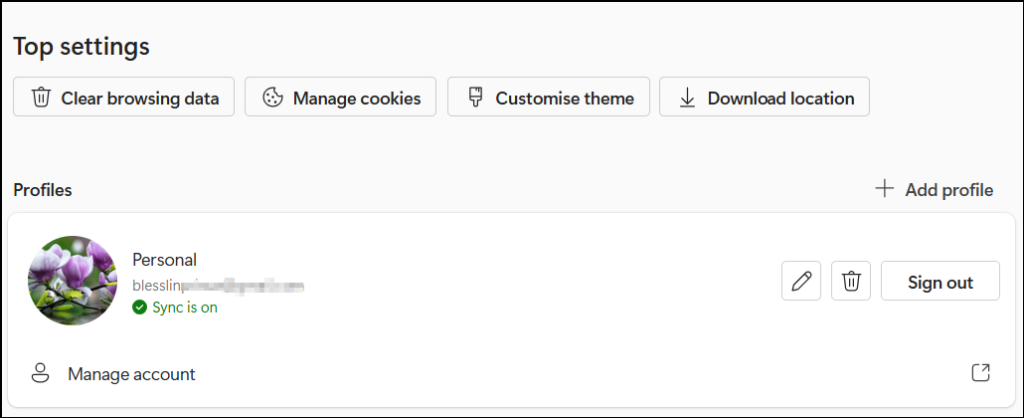
- Open Microsoft Edge and click the profile icon in the top-right corner.
- Sign in using a work or school account associated with Entra ID.
- Confirm that profile sync is enabled and the account shows as Signed in.
- Restart Microsoft Edge browser using edge://restart to ensure the sign-in state is fully applied.
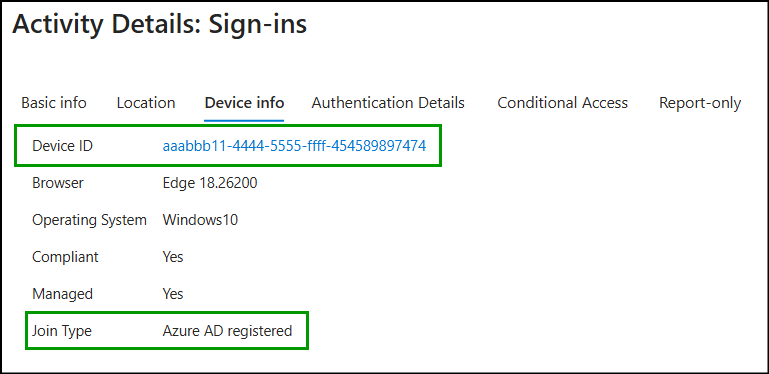
- Perform an interactive user sign-in and verify that ‘Device ID’ and ‘Join Type’ appear in Entra ID sign-in logs.
3. Set Up Windows SSO for Device Identity in Mozilla Firefox
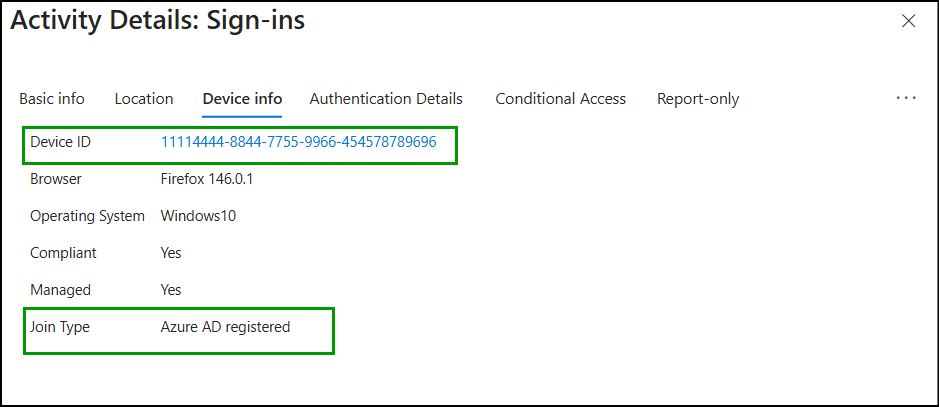
When a user signs in through Firefox, the Device ID and Join Type fields remain blank in Entra ID sign-in logs by default. This happens because Microsoft work and school sign-ins in Firefox are treated as standard web logins and do not use Windows Single Sign-On (SSO), so device context isn’t passed.
Therefore, enabling “Allow Windows single sign-on for Microsoft, work, and school accounts” allows Windows Integration Authentication in Firefox and leverage the Cloud Authentication Provider (CloudAP). This enables Firefox to retrieve device context such as Device ID and Join Type and pass it to Entra ID during interactive sign-ins. To enable this setting, follow the steps below.
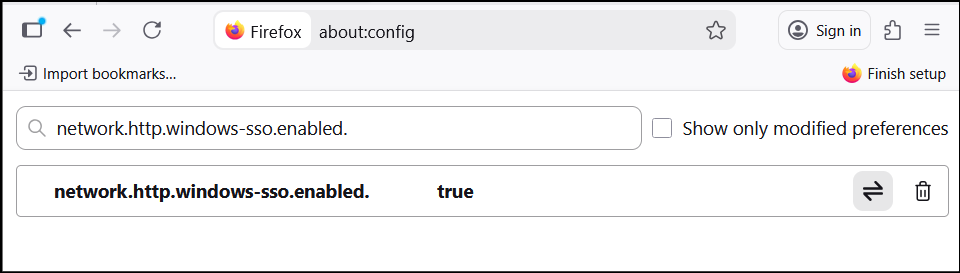
- Open Mozilla Firefox and type about:config in the address bar, then press Enter.
- Click Accept the Risk and Continue if the warning page appears.
- In the search bar, type network.http.windows-sso.enabled.
- Double-click the setting click on the toggle icon to change its value to true.
- Restart Firefox browser using about:restartrequired to apply the change.
4. Device-Based Conditional Access Support in Safari
When users sign in to any web apps or pages using Safari, if the device is managed, the Device ID and Join Type are automatically displayed in Entra ID sign-in logs. This is because Safari derives device context details from the device’s management state.
For unmanaged devices, Safari does not pass device information, so these fields are not shown.
On iOS devices using non-Microsoft MDM, Safari cannot enforce device-based Conditional Access, and Microsoft Edge is the only supported browser for device policy enforcement.
Configure Enterprise SSO for macOS Devices
On macOS devices, when the proper configurations are in place, you can view the Device ID and Join Type fields in Entra ID sign-in logs. Below are the browser configurations required on macOS across various browsers.
For Google Chrome on macOS, the Microsoft Single Sign On extension must be installed and enabled for the browser to support SSO and pass Device ID and Join Type during authentication.
For Mozilla Firefox on macOS, the device must be running macOS 10.15 or later, and the Microsoft Enterprise SSO plug-in must be installed and properly configured to enable device-aware sign-ins.
Key Things to Know While Enabling Browser Policies for Device ID and Join Type
If Device ID and Join Type still don’t appear after applying the browser policy, use the checklist below to troubleshoot the issue:
- Browser support – Not all browsers support device-based authentication. Unsupported browsers like Firefox versions below 91, Edge versions below 85, etc. can’t pass device context to Entra ID.
- Confirm the sign-in type – Device details won’t appear for non-interactive or token-based sign-ins. Always verify that the sign-in type is Interactive user before troubleshooting further.
- Check the device join status – Browsers can pass device context only when the device is registered with Entra ID. Run the dsregcmd /status in Command Prompt and confirm that either AzureAdJoined or HybridAzureADJoined is set to YES.
And that’s a wrap! We hope this blog helped you understand how to configure browsers to pass Device ID and Join Type in Entra ID sign-in logs. If you have any comments or queries, feel free to share them below. Stay tuned for more upcoming blogs!


