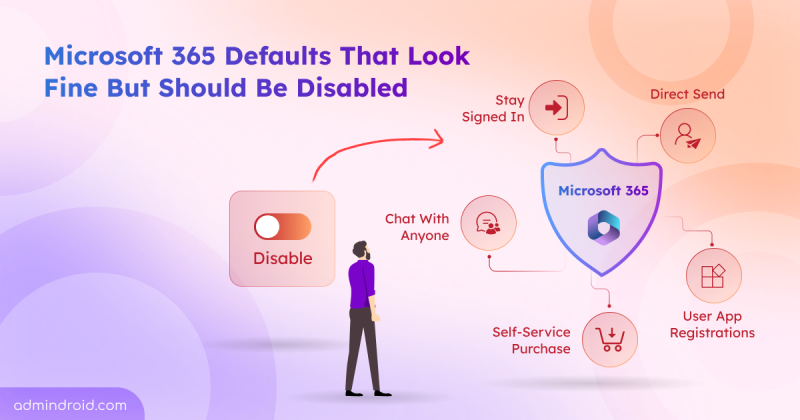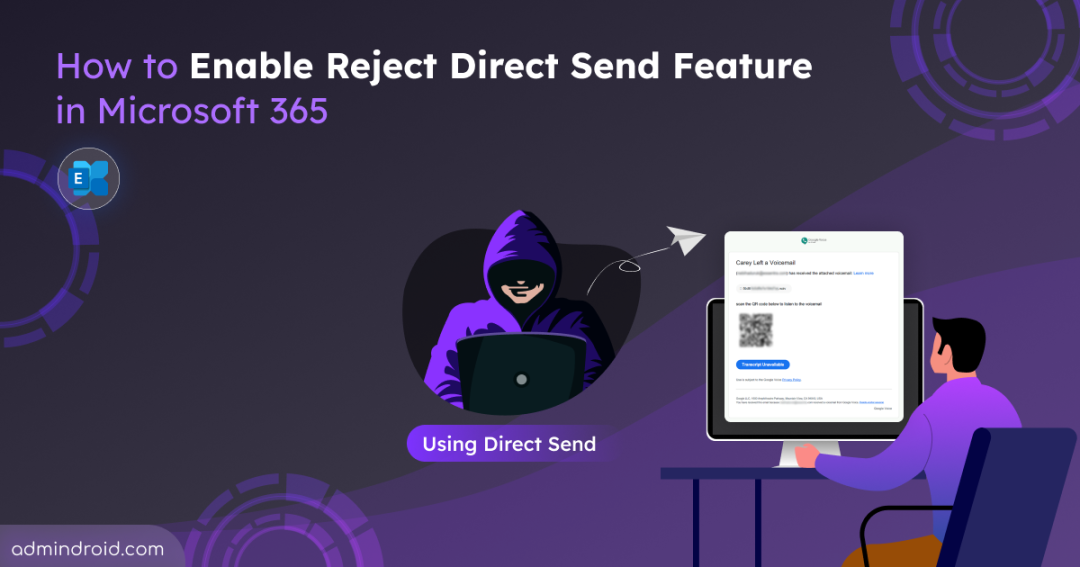
Over the past few months, a phishing campaign has been actively targeting Microsoft 365 users by sending phishing emails, bypassing standard security checks. What makes this especially dangerous is that the attackers aren’t breaking into Microsoft 365 accounts. Instead, they’ve found a way to spoof internal users and deliver anonymous phishing emails using Direct Send functionality.
To address this risk, our blog will show you how to disable Direct Send in Exchange Online before it hits your organization.
What is Direct Send in Exchange Online?
Direct Send is a feature in Exchange Online that allows on-premises devices and applications to send emails from own domain to your organization’s mailboxes, without authentication. It works by routing messages through a smart host, typically in the format:
domainname.mail.protection.outlook.com
This setup was originally meant for internal systems, like printers or monitoring tools. Notably, the Exchange Online Direct Send feature doesn’t require the sender address to be linked to a valid mailbox. However, it should be a monitored address if you want to receive replies or non-delivery reports (NDRs). When an application or device sends email directly to Microsoft 365, it needs to connect over TCP port 25 for the message to be delivered.
How Direct Send Becomes a Security Risk?
Because of its simplicity and low barrier to entry, Direct Send has become an appealing option for attackers aimed at bypassing traditional email defenses. Below are the key factors that make Direct Send a security risk:
Lack of Authentication: Direct Send comes with a major drawback that there’s no authentication involved. That means attackers don’t need a username, password, or token to send mail that looks legitimate.
Easily Exploitable Target: The smart host (MX endpoint) follows a predictable naming pattern, and internal email addresses like hr@yourcompany.com. With just a domain name and a valid recipient, an attacker can send emails that appear to come from inside the organization.
How Are Attackers Misusing Exchange Online Direct Send Feature?
In recent cases, attackers have used PowerShell to craft and send spoofed messages that seem to originate from trusted internal addresses. For example:
|
1 |
Send-MailMessage -SmtpServer contoso-com.mail.protection.outlook.com -To john@contoso.com -From john@contoso.com -Subject "New Missed Fax-msg" -Body "You have received a call! Click on the link to listen to it. Listen Now" -BodyAsHtml |
The emails were crafted to resemble voicemail notifications and often included a PDF attachment. Inside the PDF was a QR code that redirected users to a phishing site, where they trick users to enter their Microsoft 365 credentials.
Alongside the social engineering tactics, several technical patterns emerged during analysis of the campaign. These messages often follow a consistent pattern. They are sent from multiple IP addresses in the 139.28.X.X range and typically contain links to malicious domains like voice-e091b.firebaseapp[.]com and mv4lh.bsfff[.]es. Many of these messages originate from Ukrainian IP addresses. Since no authentication is required, there are no corresponding login events, making these emails harder to detect.
With this understanding, let’s see how to block Direct Send messages effectively.
How to Disable Direct Send in Exchange Online?
By default, Microsoft 365 allows emails to be sent using Direct Send, provided emails come from the organization’s accepted domains. Previously, you didn’t have a built-in way to disable Direct Send in Microsoft 365, which left tenants open to spoofing attacks. To close this gap, Microsoft introduced Reject Direct Send, a tenant-level setting that allows you to block unauthenticated direct send traffic. The feature became available in public preview in April 2025.
Reject Direct Send is now generally available to all Exchange Online tenants worldwide, except GCC High and DoD environments. Microsoft also plans to enable it by default for all new Exchange Online tenants, with no option to turn it off.
Now, lets see how you can disable Direct Send safely. This process inlcudes 2 steps:
- Identify Direct Send traffic using the Change Optics Report
- Enable Reject Direct Send in Exchange Online
1. Identify Direct Send Traffic Using Change Optics Report
Before jumping straight to disabling Direct Send, it’s essential to check whether any legitimate apps or devices in your organization still rely on it. If you skip this, their emails will be rejected once Reject Direct Send is enabled.
To make this easier, Microsoft introduced the Change Optics Report, a mail flow report that helps you identify Direct Send traffic across your tenant. It shows a sample set of messages from your organization that would be affected by upcoming Exchange Online changes. The report is available only for worldwide tenants, not for GCC, GCC High, DoD, or other sovereign clouds.
The report currently covers two scenarios:
- Onmicrosoft.com external traffic (OMC): Identifies messages sent externally from onmicrosoft.com addresses. Microsoft has started throttling this traffic and recommends moving applicable sending scenarios to a custom domain.
- Direct Send traffic (DRS): Finds Direct Send messages received by your tenant. You can use this scenario to find legitimate senders and secure them before blocking Direct Send.
Microsoft plans to add more scenarios as new Exchange Online changes are announced. For now, the Direct Send traffic scenario is all you need to prepare for disabling Direct Send.
How to Access the Change Optics Report in Exchange Online
You can find apps and devices that still use Direct Send by following the steps below:
- Sign in to the Exchange admin center.
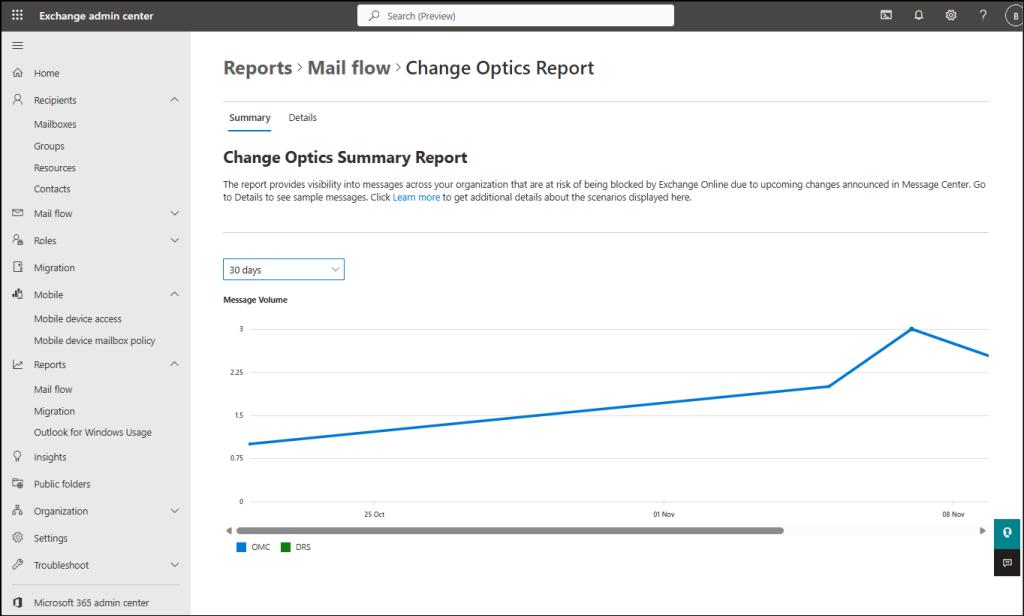
- Navigate to Reports > Mail flow and select Change Optics Report.
- On the Summary tab, review the message volume trends. The report shows data from the last 7 days by default, but you can change the date range to cover up to the past 90 days.
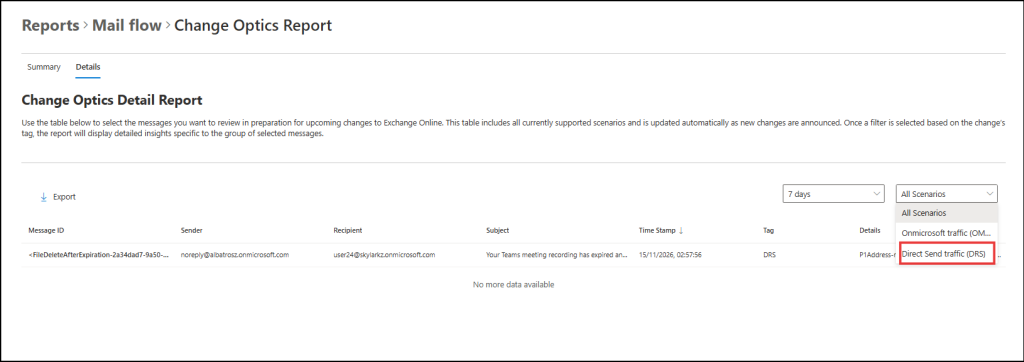
- Switch to the Details tab, select your preferred date range, and choose scenario as Direct Send traffic.
- The report show the sample messages and their key properties, such as Message ID, Sender, Recipient, Subject, Timestamp, Tag, and Details, to identify the sending apps and devices.
- If needed, export the list to investigate the scenarios. The export currently includes only the rows loaded in the table, not all data for the selected date range. Microsoft plans to improve this but hasn’t shared a timeline yet.
⚠️ Keep in mind that the report shows only a sample of messages that match the characteristics of a particular change, not a complete log. Use it to spot sending patterns rather than as a full message trace.
Once you’ve identified the legitimate senders, configure mail flow using connectors in Exchange Online for those apps and devices. These connectors authenticate the email source by IP address or certificate, and allow authorized messages to bypass the setting. With these senders secured, you’re ready to block Direct Send.
2. Enable Reject Direct Send in Exchange Online
Here’s how you can disable Direct Send feature in Microsoft 365 using PowerShell:
- Connect to Exchange Online PowerShell using the below cmdlet.
|
1 |
Connect-ExchangeOnline |
- Run the following cmdlet to enable Reject Direct Send feature in your Microsoft 365.
|
1 |
Set-OrganizationConfig -RejectDirectSend $true |
- To verify the status of Reject Direct Send setting in your tenant, use the following cmdlet:
|
1 |
Get-OrganizationConfig | Select-Object Identity, RejectDirectSend |

It can take up to 30 minutes for the change to take effect across all Microsoft cloud servers. Once enabled, Reject Direct Send will block unauthenticated emails sent directly to your tenant. Senders attempting to use Direct Send will receive the following error:
550 5.7.68 TenantInboundAttribution; Direct Send not allowed for this organization from unauthorized sources
Which Emails Are Allowed and Blocked After Enabling Reject Direct Send?
Reject Direct Send doesn’t block every message that uses your domain. Here’s how it decides which messages get through and which are rejected:
- Only the envelope sender is checked. Every email has two sender addresses: the envelope sender (P1), which mail servers use during message delivery, and the header sender (P2), which users see in Outlook. Reject Direct Send checks only the envelope sender (P1). The visible From address (P2) is not part of this check.
- “Anonymous” mail means no connector. A message is considered anonymous if it doesn’t arrive through any mail flow connector configured in your tenant. Emails from printers, scanners, or third-party apps that comes through an approved connector are not affected.
- Subdomains can be covered too. If an accepted domain has “Accept mail for all subdomains” option enabled (MatchSubDomains = True), messages that use those subdomains are blocked as well. For example, if contoso.com has this option enabled, an anonymous message from user@sales.contoso.com is also rejected.
- Your MX record doesn’t matter. The setting works whether your MX record points directly to Exchange Online or to a third-party email gateway. If you use a gateway, make sure its mail comes in through an inbound connector.
- Works within your domain protection scope: This setting only covers your own accepted domains. Spoofed emails that use domains you don’t own aren’t Direct Send traffic, so existing anti-spoofing protections continue to handle them.
- ACS Email is supported. Emails sent through Azure Communication Services (ACS), such as app notifications and alerts, are delivered normally when the traffic is attributed through an inbound connector.
| ⚠️ Important Note: |
Best Practices for Safe Use of Direct Send Feature
Apart from enabling Reject Direct Send, you can follow the email security best practices in Microsoft 365 to safeguard your organization.
- Wherever possible, migrate devices and applications to use authenticated SMTP client submission (SMTP AUTH) or SMTP relay with connectors that have specific IP restrictions.
- Messages that aren’t attributed to a connector are treated as anonymous and blocked once Reject Direct Send is enabled. To make sure partner emails continue to be delivered, check a sample message from each partner using the following cmdlet and confirm that it’s matched to the correct connector:
1Get-MessageTraceV2 -MessageId "<message ID>" | Get-MessageTraceDetailV2 | Format-List
- Look for anomalies in message headers, such as external IPs sent to your smart host, and SPF/DKIM/DMARC failures.
- Use strict DMARC policies like (p=reject) to ensure that emails purporting to be from your domain.
- Configure SPF to ‘hardfail’ within Exchange Online Protection (EOP) to strongly indicate that emails not originating from authorized sources are illegitimate.
- Train users to recognize phishing attempts, using targeted attack simulation training to help users recognize and respond to threats effectively.
- Configure rules to flag or quarantine emails that appear to come from internal addresses but originate from external IPs.
- Enforce MFA in Microsoft 365 to ensure that stolen credentials alone aren’t enough for attackers to access compromised accounts.
We hope this post has provided valuable insights and steps to enable the Reject Direct Send feature in Microsoft 365. We’d love to hear your thoughts about this new feature, so feel free to share them in the comments below.